
 by
by God feeds his children well. Praise the Lord, our household has never known hunger. There has always been food to eat.
Matthew 14:20 “And they did all eat, and were filled…”
God showed me this easy and inexpensive recipe for making homemade Greek-style yogurt. This recipe is for plain, nothing added, yogurt. The sky is the limit for possibilities to satisfy any distinguishing taste buds.
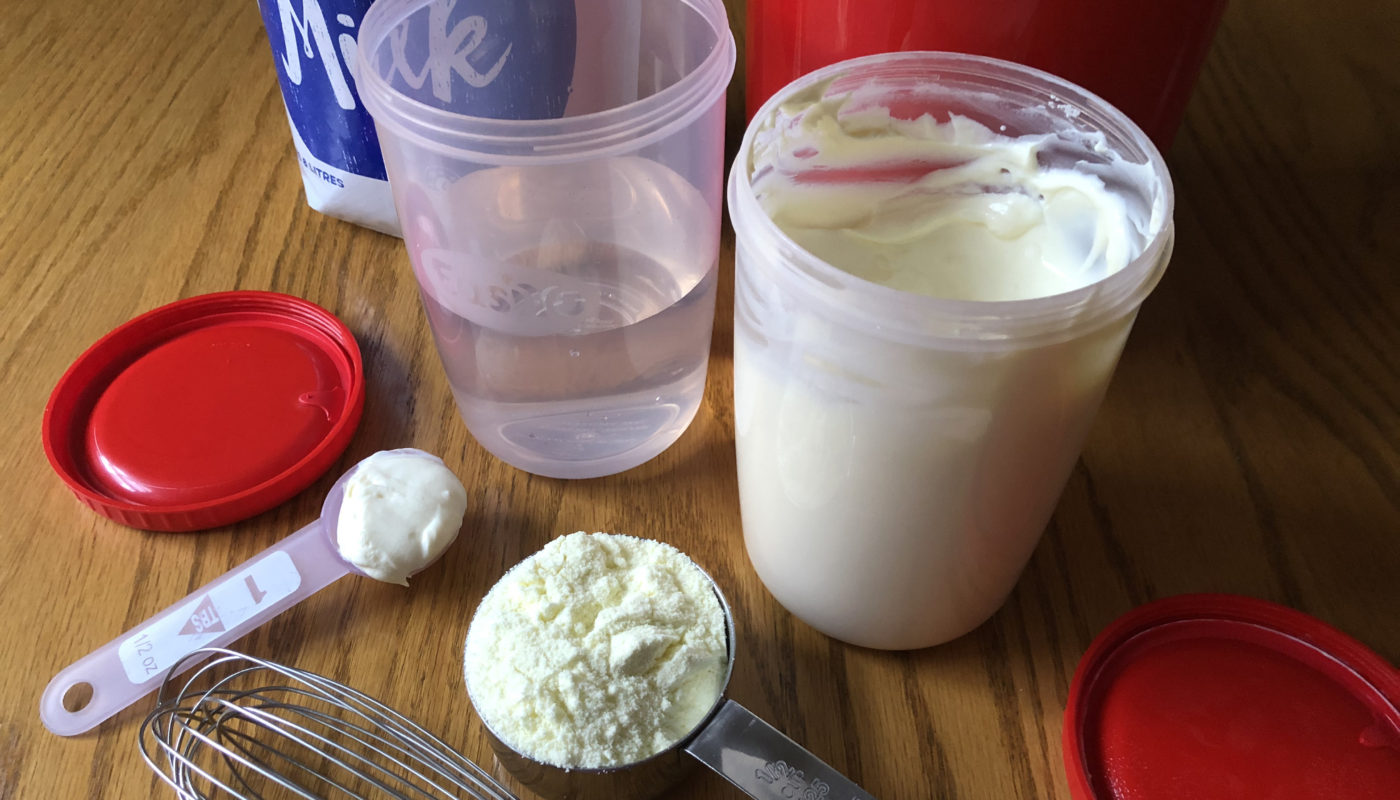
Ingredients:
- 1 litre/quart water
- 1 ¾ – 2 cups dry milk powder (The cheapest store brand is fine. I use the whole fat milk powder)
- 1 container of store-bought, plain Greek Yogurt (this only needs to be bought once) 1 Tbsp is used as the *starter for the homemade yogurt. Months later, if the homemade yogurt seems like it is not quite the same in consistency and taste; buy another store-bought, plain yogurt and use it again for a fresh starter. It must be plain yogurt, no added sugars, fruits, etc.
- 1 Container to make the yogurt in. This simply consists of a litre/quart container for the yogurt that gets set inside a larger insulated container. Once the litre/quart container is sat inside the insulated container, boiling water is poured in and the whole thing is sealed for 12+ hours. More about this later. You do not need a fancy yogurt maker. Mine has no batteries and does not use electricity. It is so simple and works fine.
*Making yogurt with the “starter,” will eliminate the need to purchase the store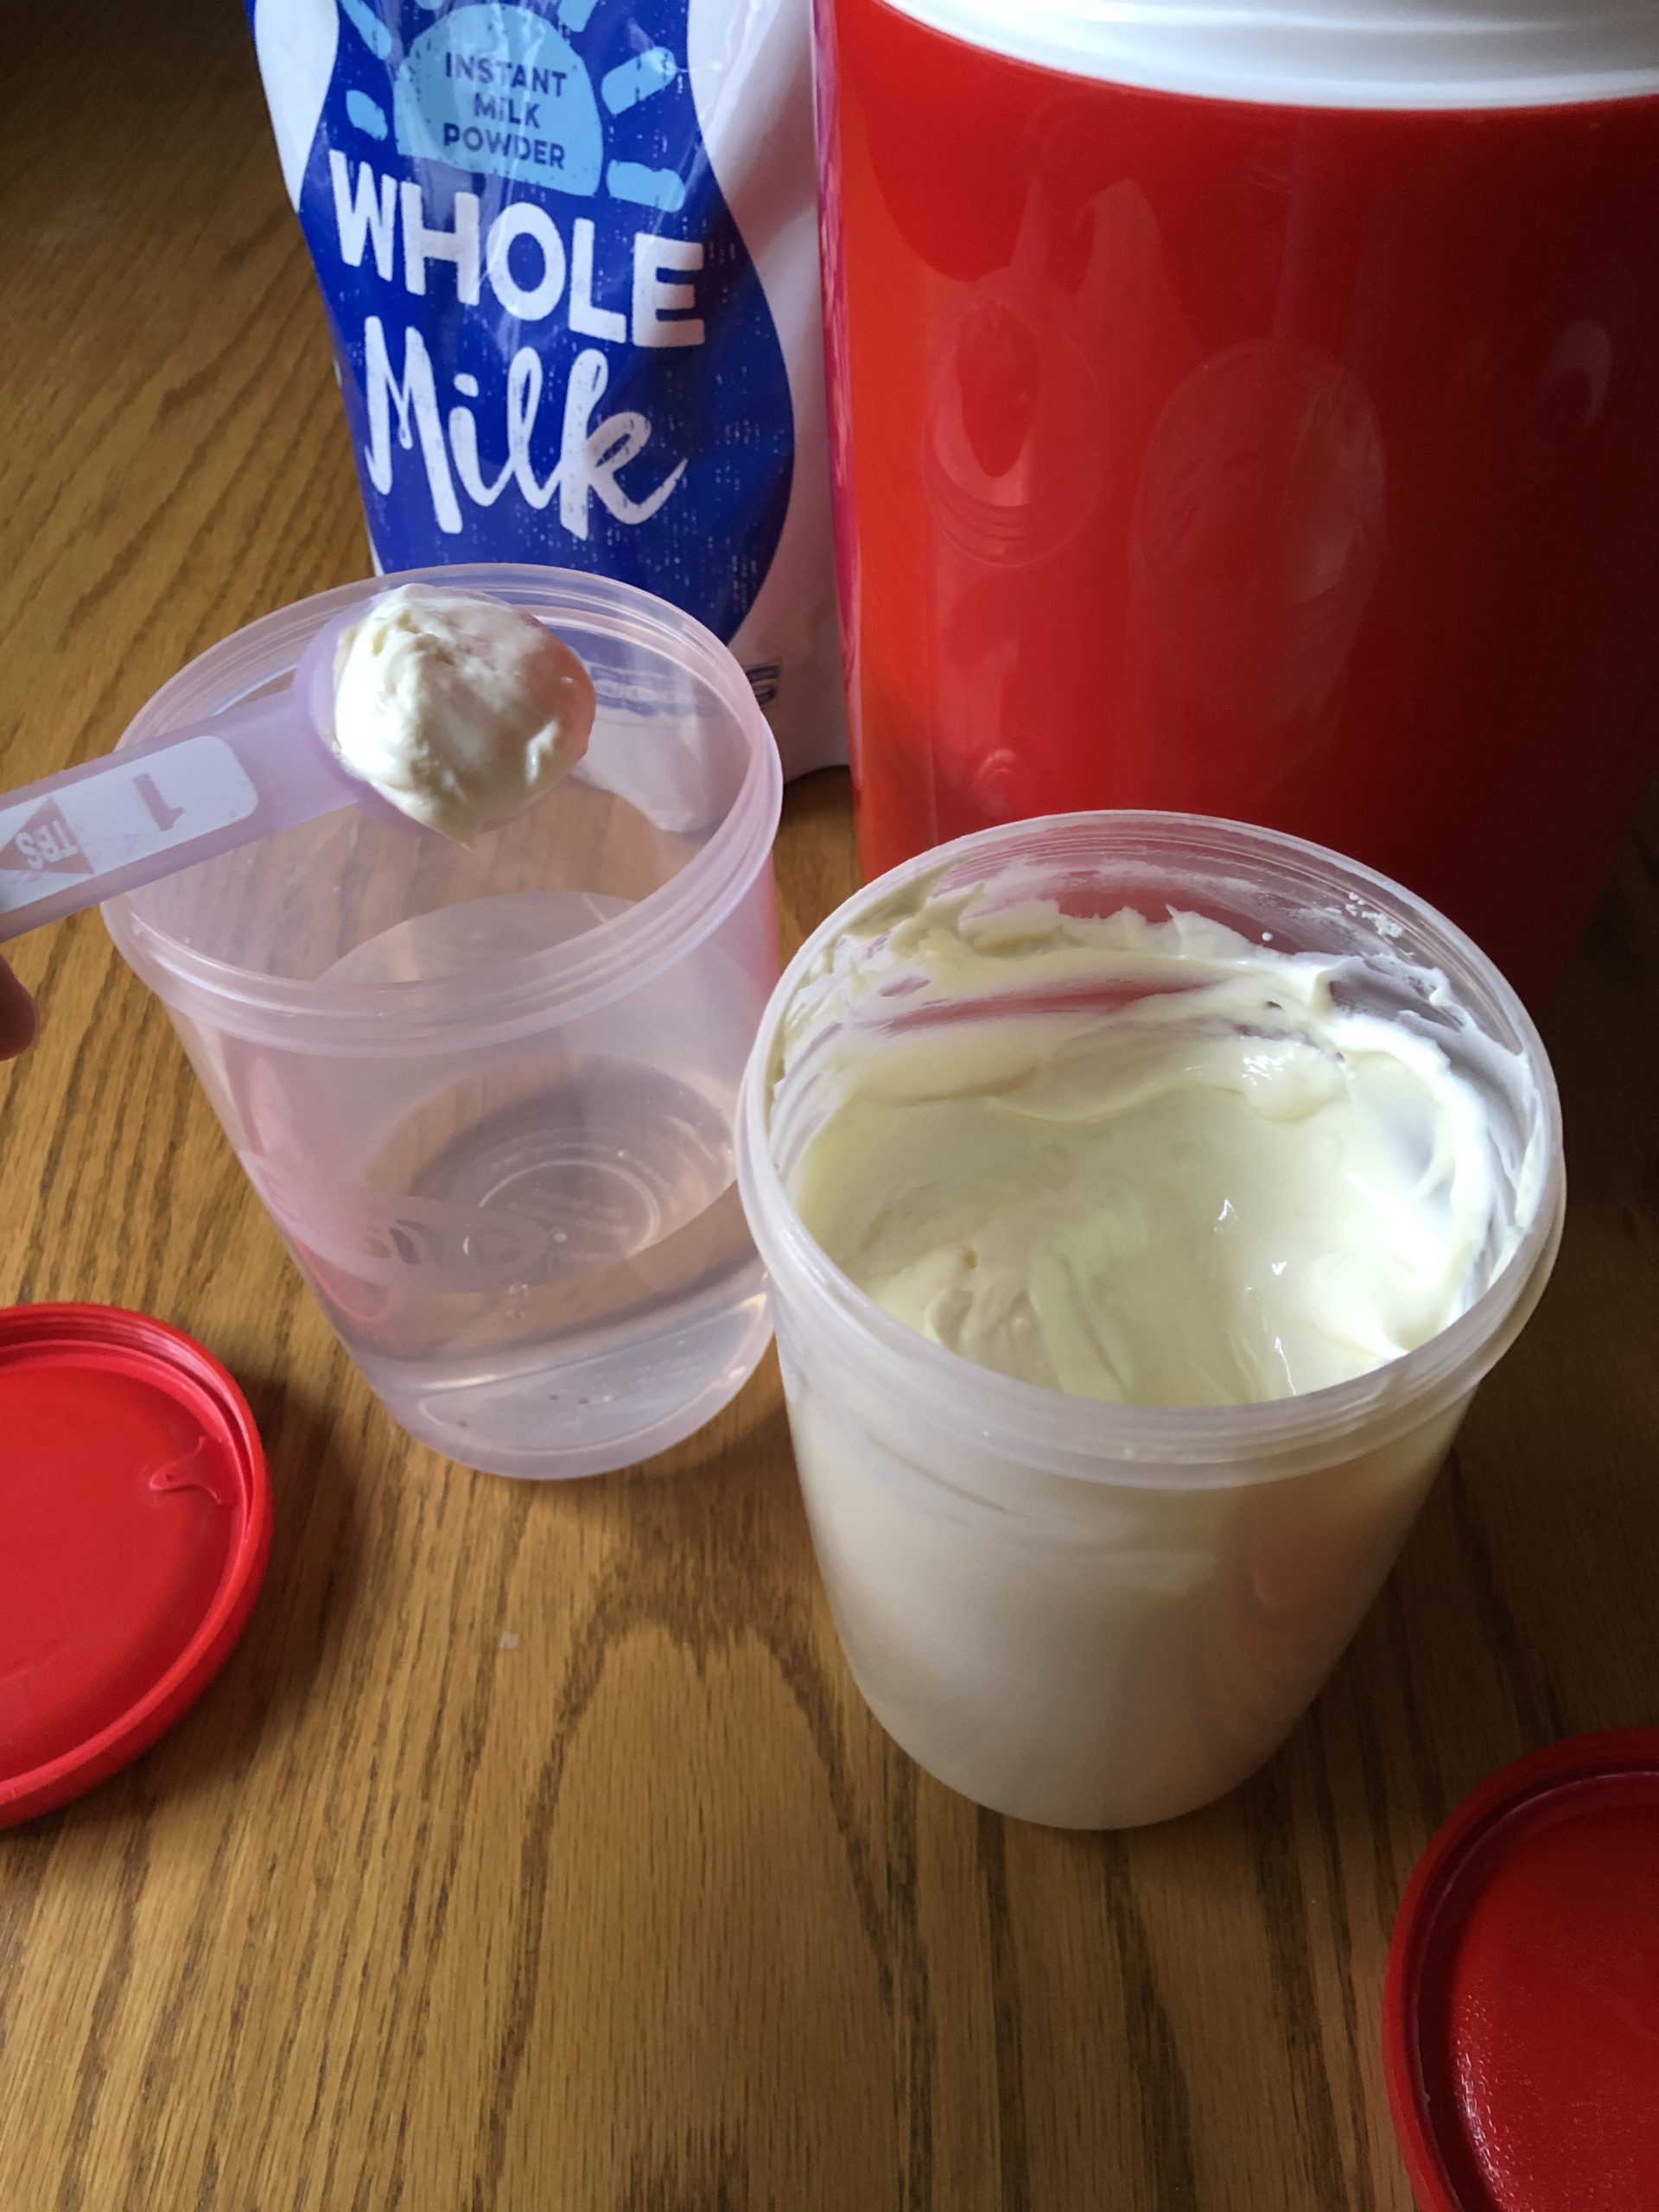 -bought packages to make yogurt. Sometimes these are more expensive then the already-made yogurt in the dairy department. If you are going to make homemade yogurt, do it totally from scratch and you will save money and love the finished product.
In New Zealand dollars, I can make 1 litre/quart of yogurt for $2.50. In US dollars, that would be about $1.75 for a quart of homemade Greek-style yogurt. The initial set up does not cost much. I have looked online at Amazon and there are several options for yogurt making machines. Shop and buy a yogurt maker that is good for your lifestyle. You only need a non-electric container to keep the yogurt hot/warm while it is sitting and converting the milk powder/water to yogurt. There is no need to buy fancy, electric machines. In New Zealand, I use the EasiYo Yogurt maker and it only cost $20 on sale and has been perfect. I purchased one extra, litre container for $4, so I have one to use for making a new batch while I am finishing eating the last batch. I am in a continuous cycle. Make a new batch before I finish the last batch and I am never without yogurt.
Once you make this yogurt, you can add anything. You can add real sugar, sugar substitutes, vanilla, nuts, oats, muesli, and of course fruit. Whatever fruit you have on hand will do. Mash it up, dice it up, or puree it and stir into your homemade plain yogurt. Be creative. The sky is the limit. If you create something delicious, please leave a comment and let us all know so we can be inspired by your results.
ONE IMPORTANT NOTE: Before you mix anything into your plain, homemade yogurt, SAVE 1 Tbsp in a small container for your next batch. If you do not do this, you will not have the starter with all the beneficial bacteria to make your next batch of yogurt. You will have to buy another store-bought, plain, Greek-style yogurt for the starter.
ONE BLESSING: This has been a staple food in my refrigerator. One thing I have realized, I can now make any recipe that calls for cream, even if I do not have cream on hand. This plain, thick, Greek-styled yogurt can be mixed ½ and ½ with milk as a substitute for cream in any recipe. So, if a recipe calls for 1 cup cream, use ½ cup homemade, plain, Greek-styled yogurt and ½ cup whole milk.
Hint: Do not add things to the main yogurt container, then you will always have your starter and a cream alternative. Take out what you wish to eat and add things to that portion.
Directions:
- Fill the litre/quart yogurt container ½ full of water.
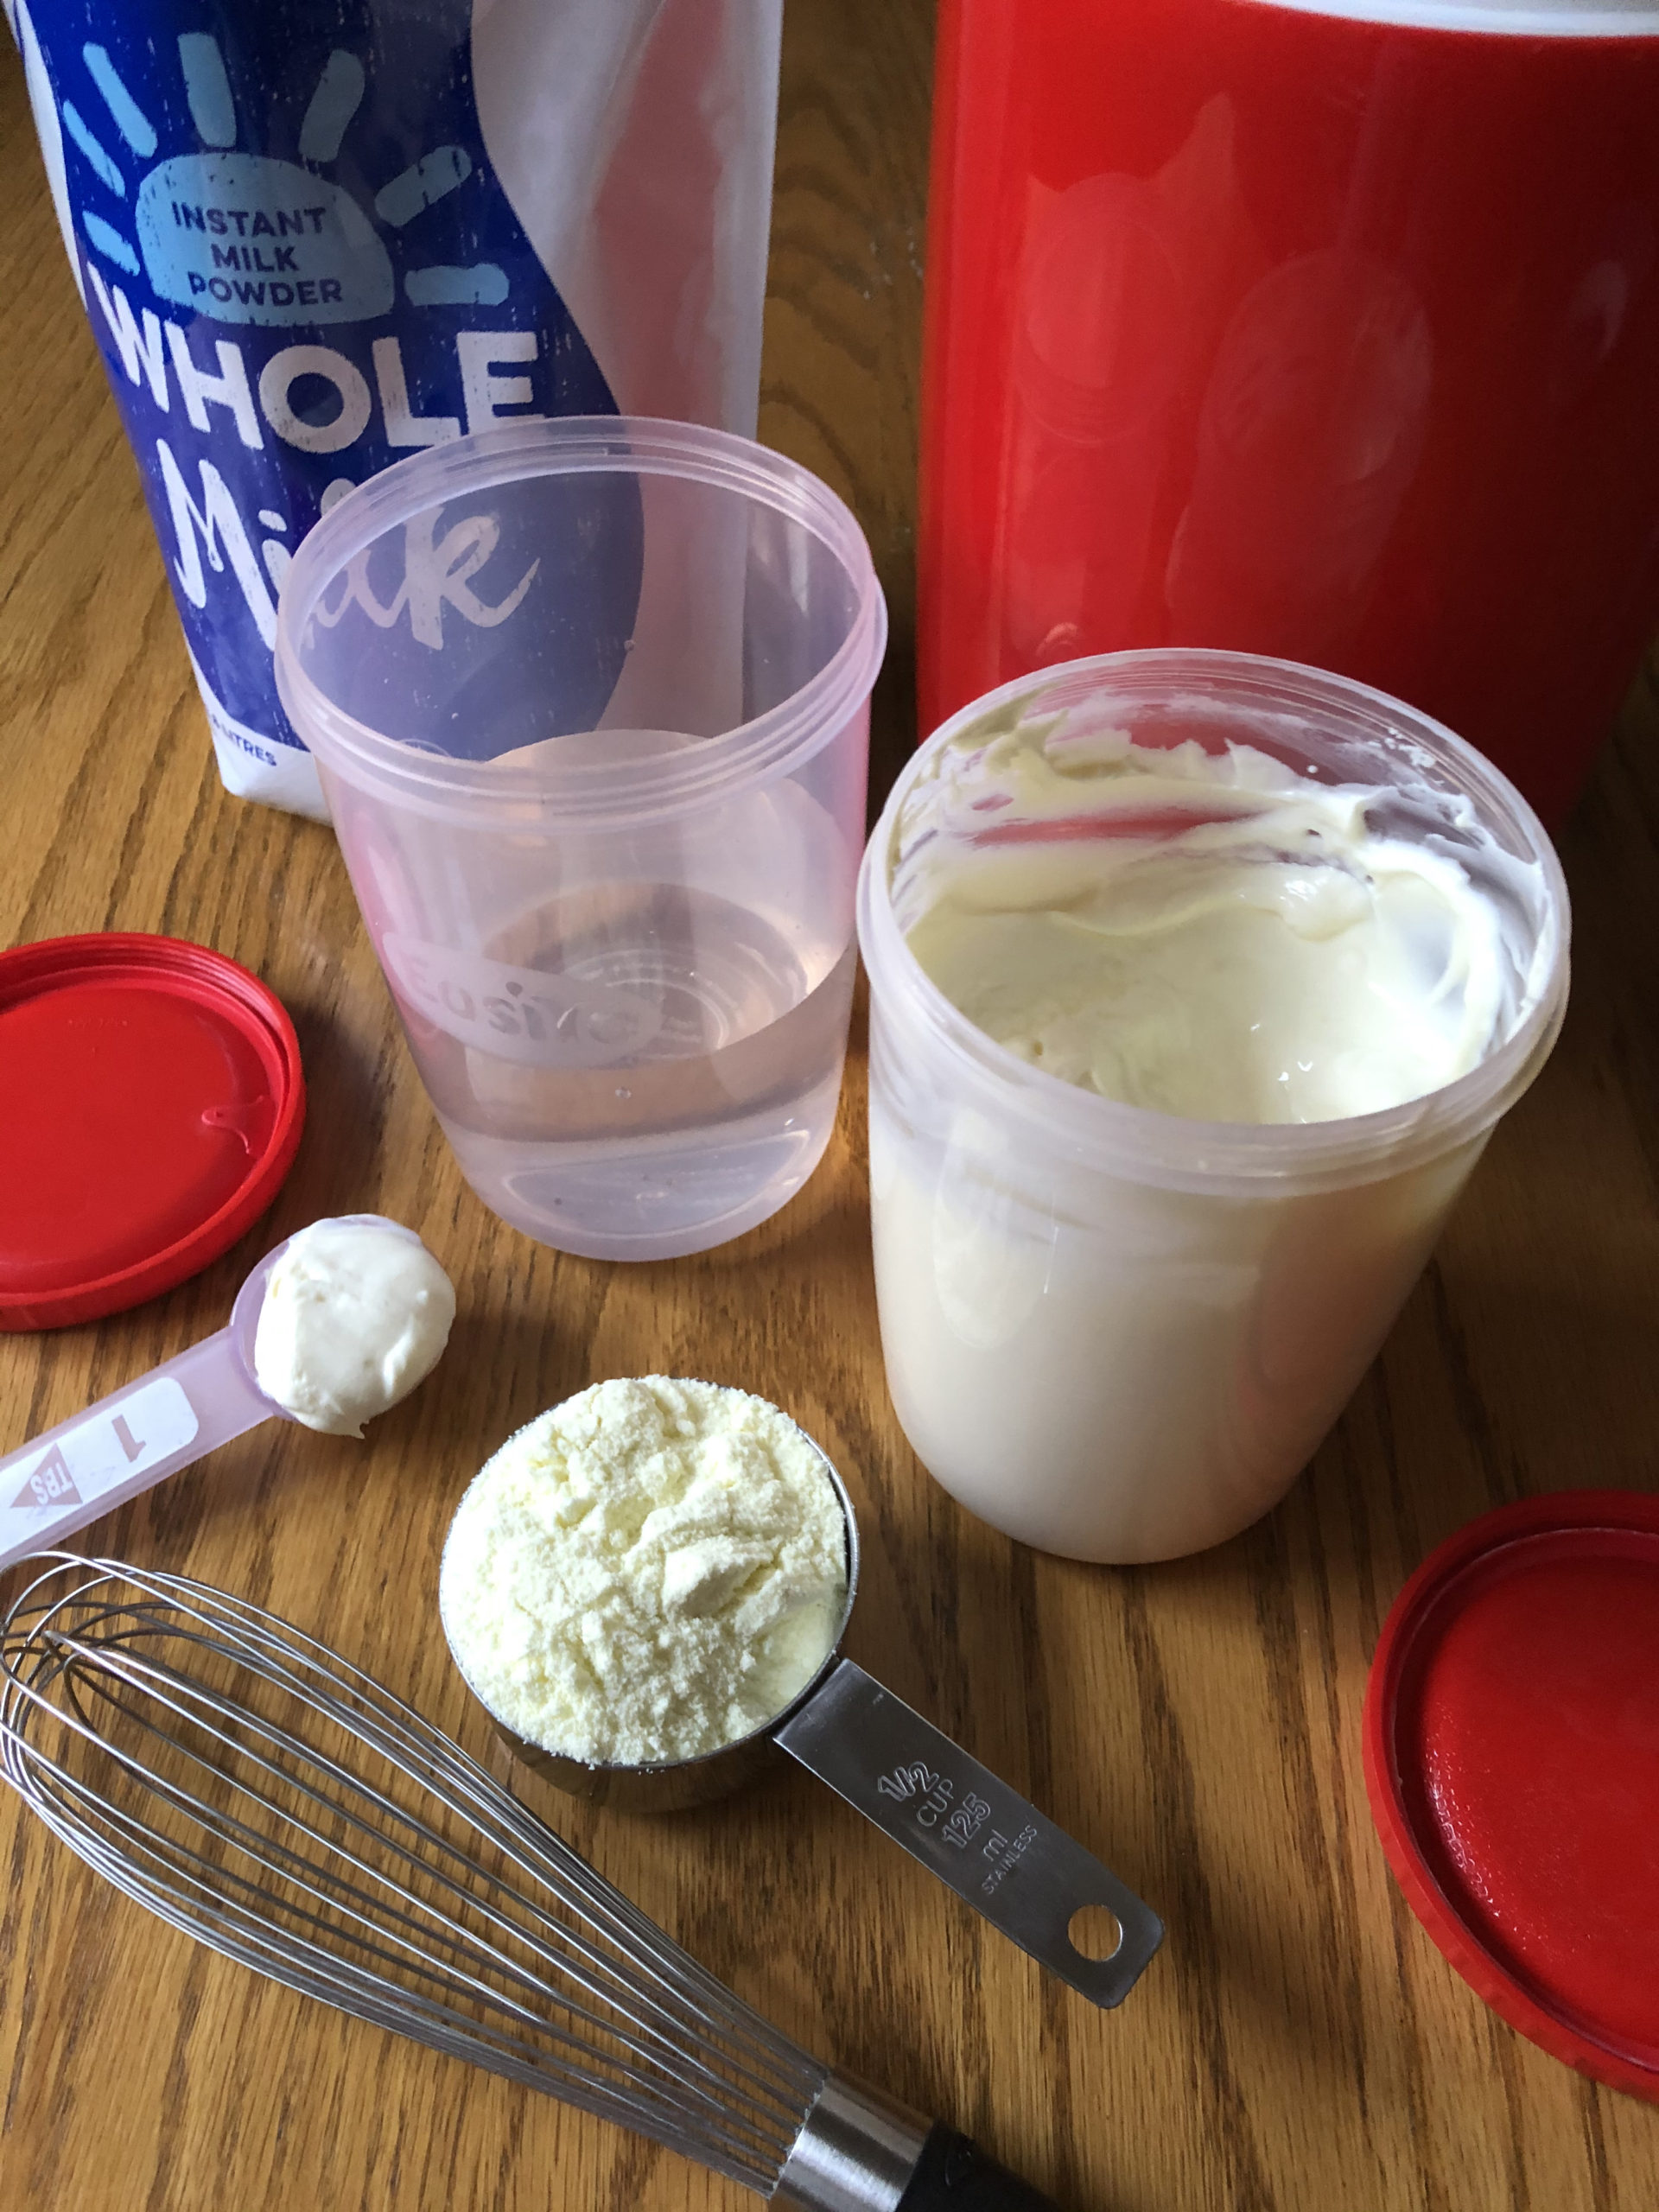
- Stir in the 1 Tbsp of yogurt starter from the store-bought Greek style yogurt. (It does not matter if it is over 1 Tbsp. In fact, some of my thickest and richest yogurts have come when I have used a slightly heaping 1 Tbsp.
- Using a whisk, put in ½ cup of the milk powder, whisk it well, then do another ½ cup until you have 2 cups total of milk powder dissolved in the water. (The 2 cups do not have to be exact, but I have gotten a thicker yogurt when I have done the whole 2 cups. Over time, your different batches of yogurt may get a bit too thick. I really like this, but when I make my next batch I will use slightly less than 2 cups. Do not be afraid to be a little flexible with the amounts of milk powder or the starter.
- Finish filling your yogurt container with water, leaving about ½ inch (1 ½ cm) space at the top. Carefully stir once more. Put on the lid.
- Sit the yogurt container in whatever yogurt making system you have. Pour in the boiling, hot water. Follow the directions on your maker. Seal it all up and let it sit for at least 12+ hours. Do not open it. Do not refrigerate it. Just sit it on a counter where you will not forget it. I have accidentally forgotten mine twice. Once, it sat for almost 24 hours and another time way over 24 hours. Both times it was fine. It actually was so thick and delicious, but I try to stay around 12-15 hours.
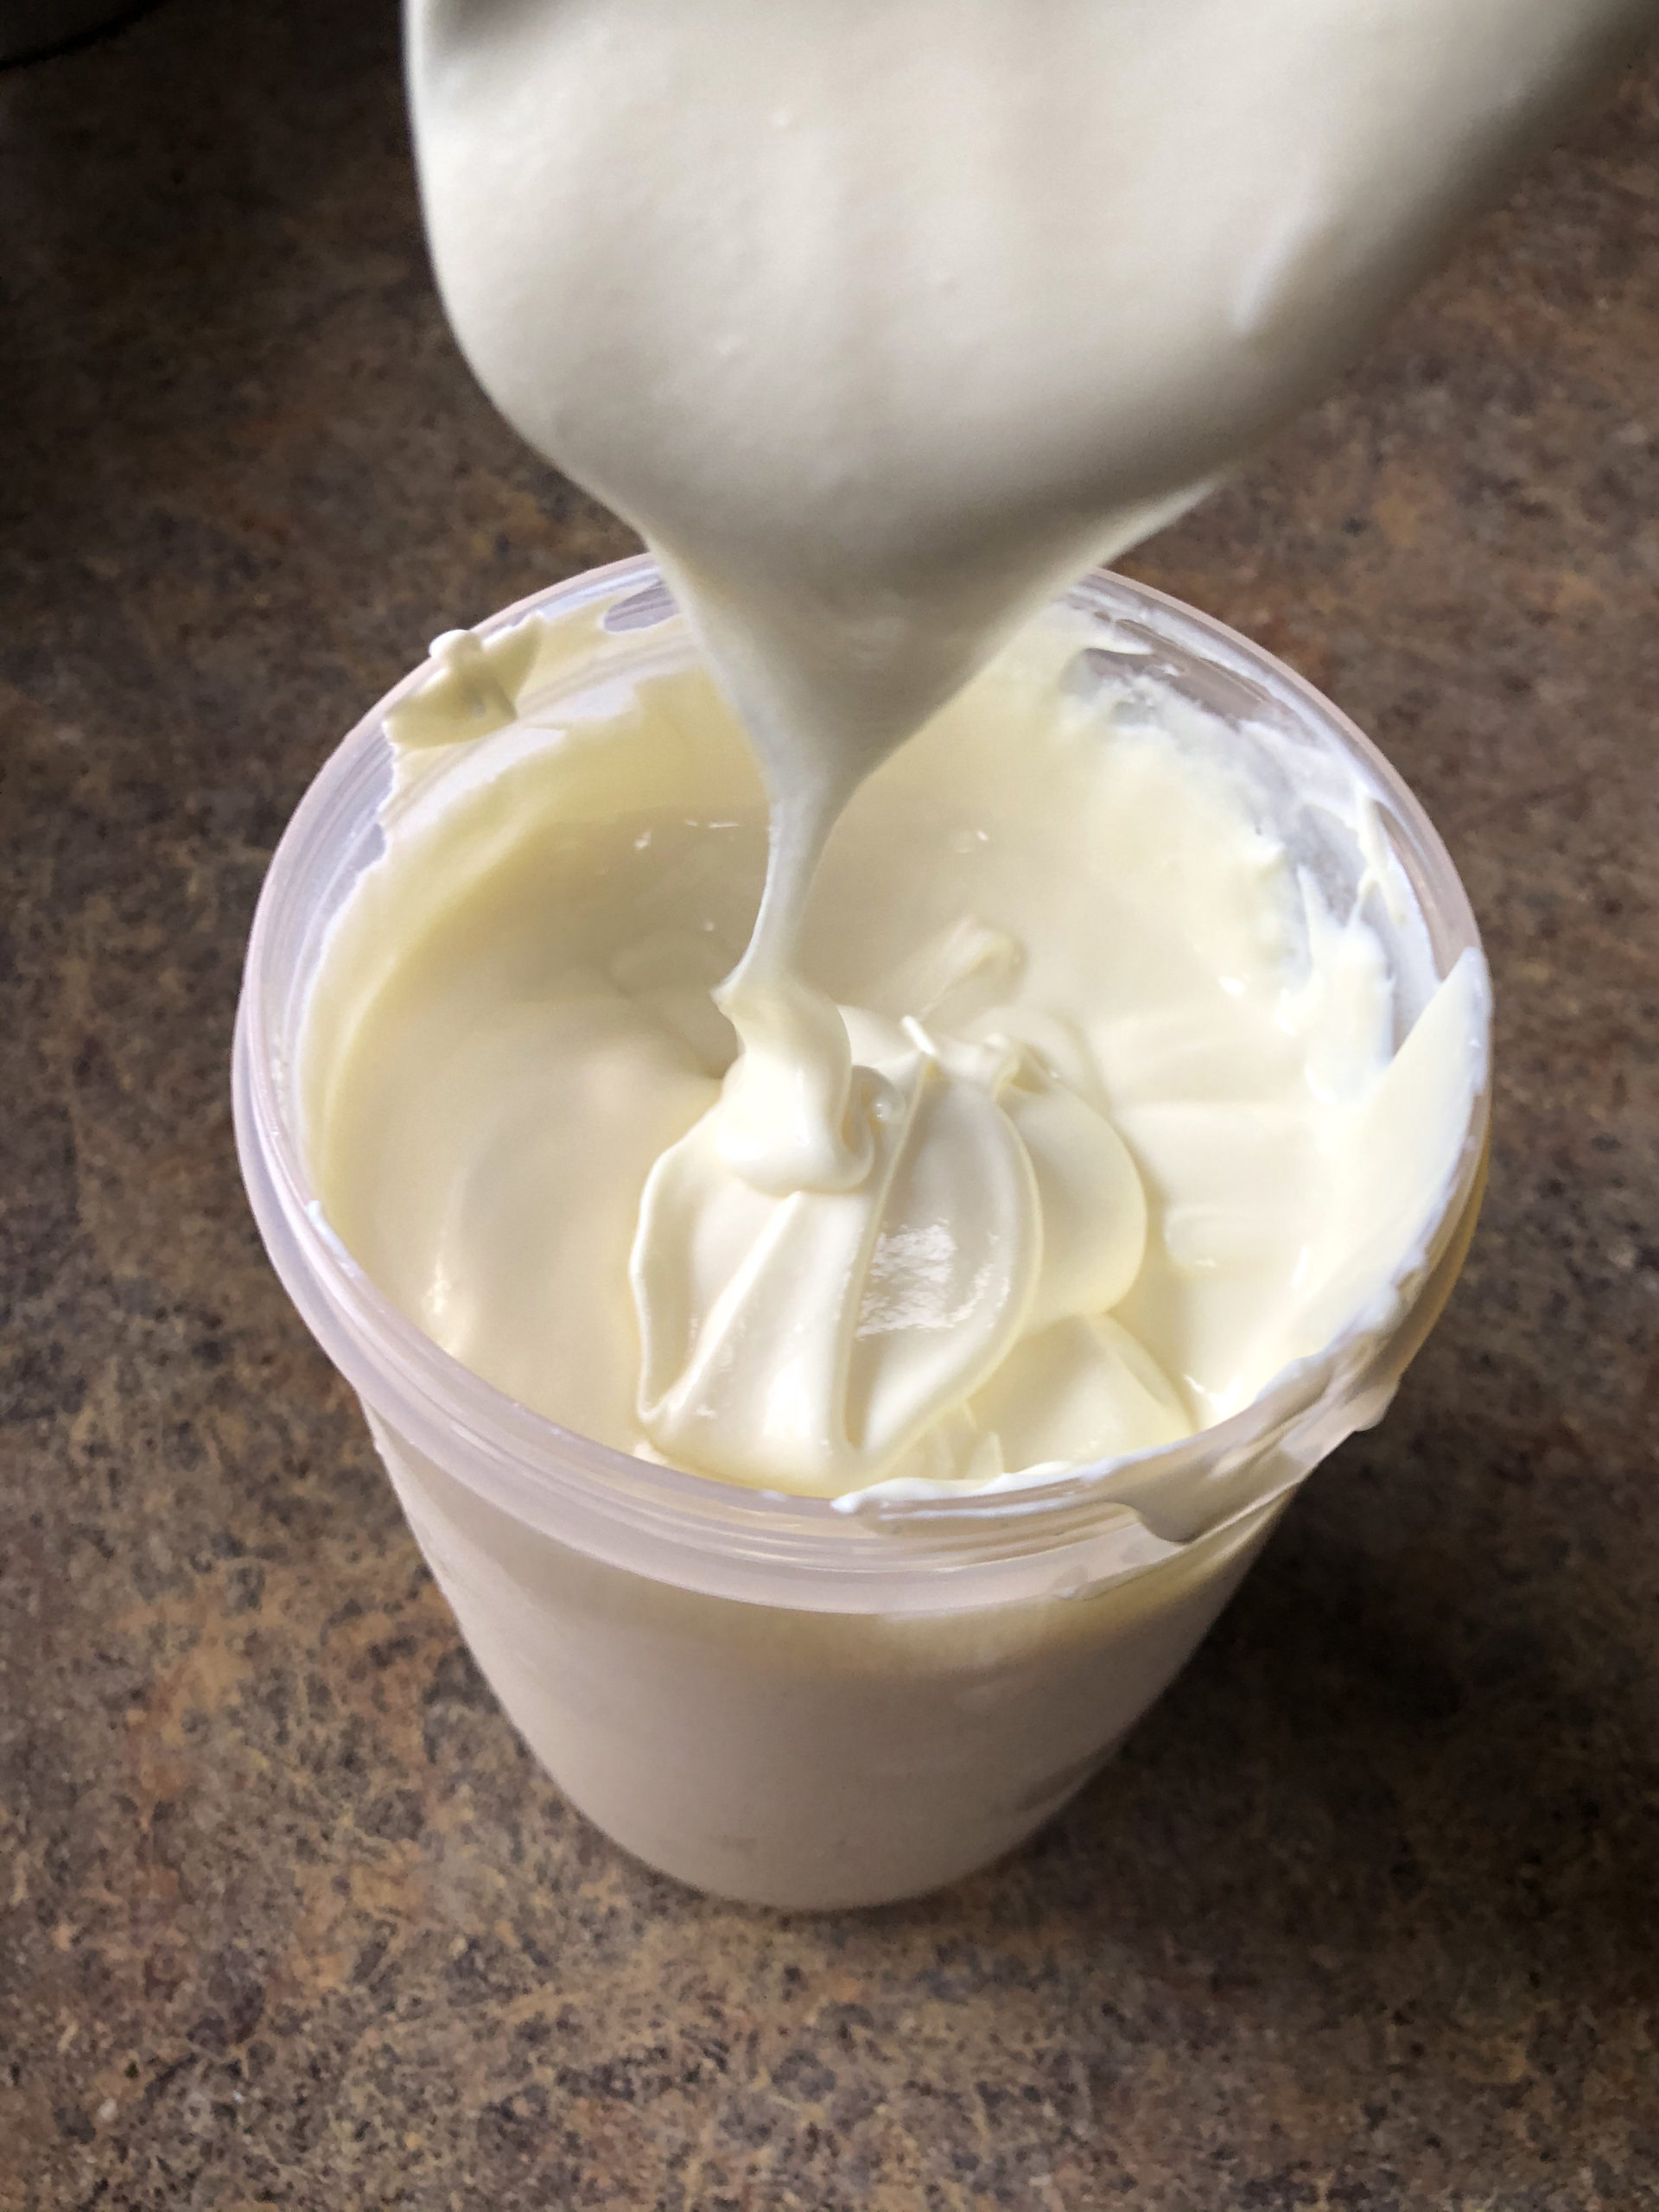
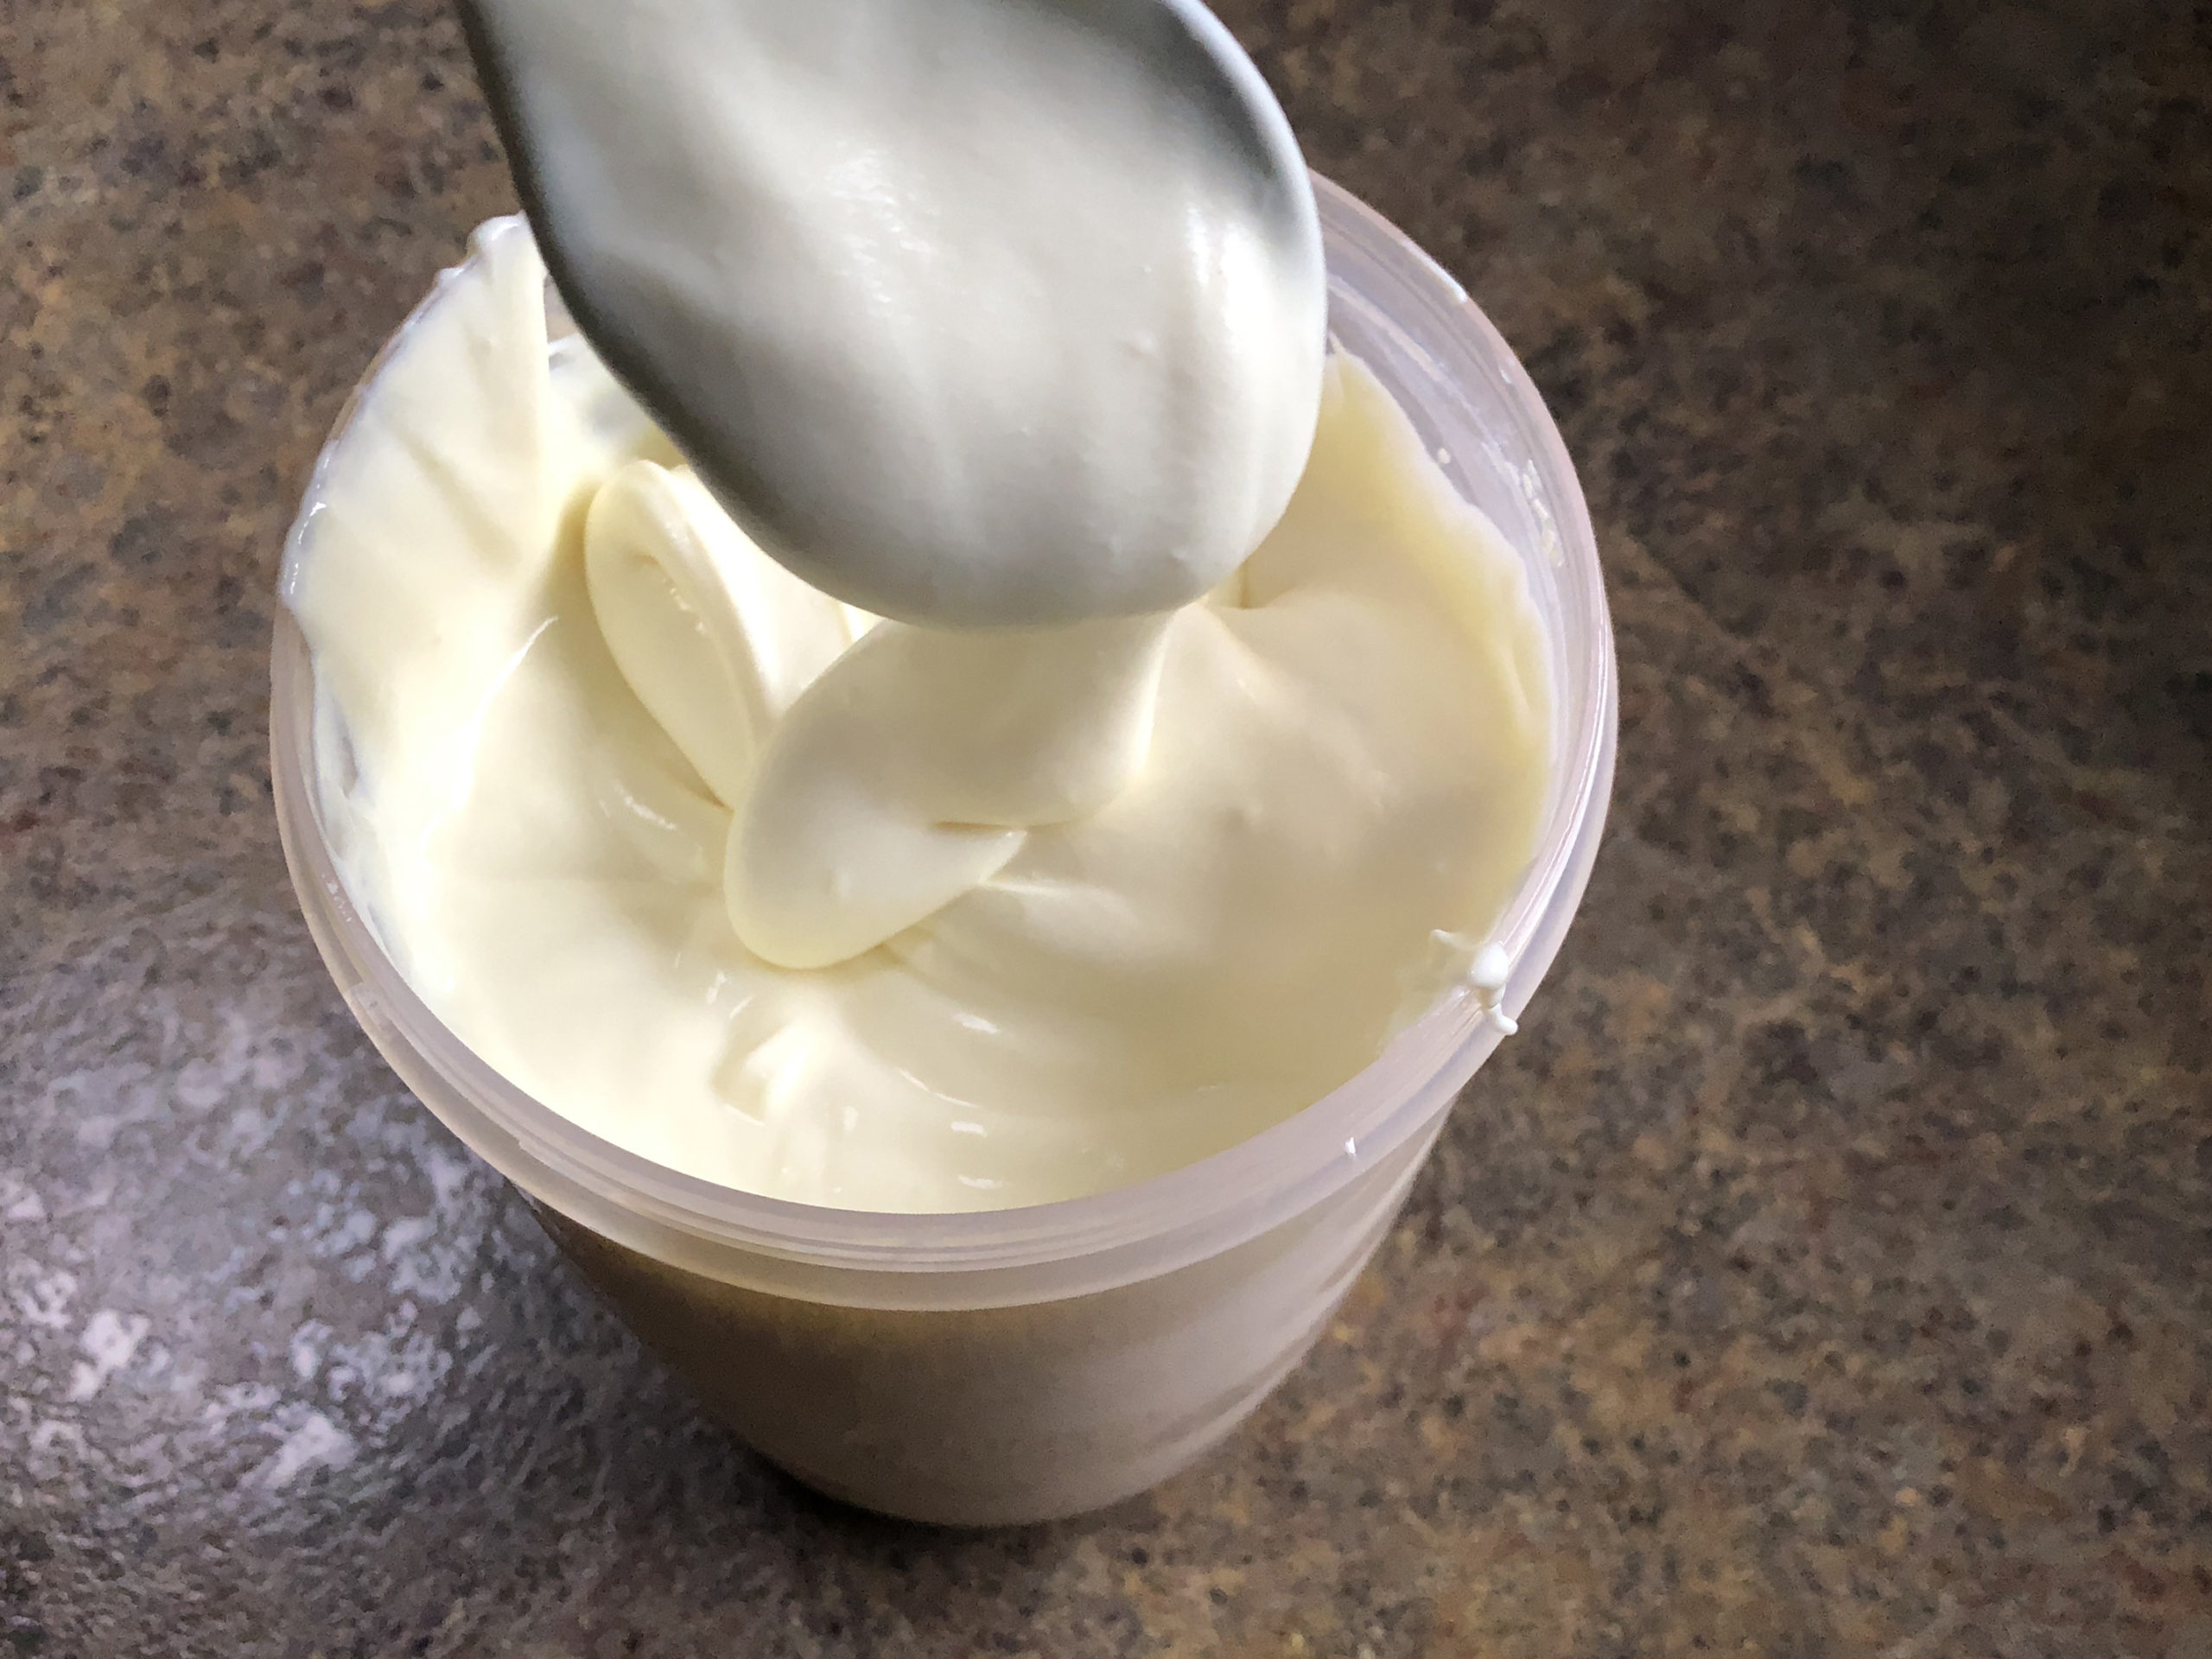
- After it has sat the 12-15 hours, remove it from the yogurt maker, wipe off the water from the outside of the container. You can open it at this point and check it if you wish. You might wish to stir it, but it is not necessary. Next, refrigerate it for about 24 hours. The thicker it is, the longer it will take to chill all the way through. Trust me it is so delicious if it is chilled all the way through. It will continue to thicken more while it is chilling in the refrigerator.
 Once you get into a routine of making yogurt, you will always have a yogurt in the refrigerator to eat or use in recipes. When the container I am eating from, gets down to about ¼ full, I make the next batch around 5-6pm in the evening while I am cooking dinner. Then, I put it in the refrigerator the next morning when I eat breakfast. Then the following day, it is ready to eat.
If you are a yogurt lover, you will really enjoy this recipe. It is inexpensive to make, and you can add whatever you wish to it. If you decide to give this a try, I pray you enjoy and reap the tasty benefits from homemade yogurt.
Hope you enjoy. Happy yogurt making.